Imaging telescopes have a specific Field of View (FOV) which is dependent on the scope focal length (FL), the camera pixel size, and the number of pixels in length and width of the sensor. In astronomical terms the FOV is expressed as the angle of view the camera sees which relates to the angular size of the objects to be imaged. Angles of view are expressed as degrees, minutes, and seconds of arc, and the camera+scope FOV is stated in similar terms.
Interesting astronomical objects size vary greatly from large objects like the
Orion nebula (x by Y) and Andromeda Galaxy (x by Y) to small Deep Sky Objects (DSOs), which may have angular sizes as small 10 arc minutes or less across. Since telescopes usually have fixed FL (with some limited modifiers, such a focal reducers, and CCD camera have limited resolution, it is difficult for one optical system to satisfactorily image the full range of available objects.
One solution is to employ more than one telescope tube (OTA), each one suited to a given object size. That is the solution that I employ. I have owned scopes with FLs that range from 2400mm to 400mm. My current set covers 400mm to about 1377mm, sufficient to image most interesting DSOs. Planetary imaging usually is best done with longer FL scopes (not especially of interest to me at this time). My OTAs are easily exchanged on the mount and my cameras can work well with each also. Just a few minutes and the changeover is finished.
Now for some boring math. The first thing we need to know is the angular coverage of the OTA/camera combination. This is expressed by the formula:
Angular size per pixel = size of pixels in micron x 206.3/FL in mm,
My main camera has 2.4 micron pixels and my Celestron RASA8 has a FL of 400mm, so the angular coverage is 2.4×206.3/400 =1.24 arc seconds. The ASI183 has 5496×3692 pixels, so the combination has a coverage of 113×76 arc minutes.
The my scopes with the ZWO ASI183 have the following FOVs:
| OTA | FL mm | FOV arc sec |
|---|---|---|
| 150mm RC F/9 | 1377mm F/9 | 32.9′ x 22.1′ |
| 150mm RC w 0.67x focal reducer | 877mm F/5 | 49.1 ‘x 33.0’ |
| RASA 8 | 400mm F/2 | 113′ x 76′ |
Some Common DSOs
| Object | Angular size in arc minutes |
|---|---|
| M1 Crab Nebula | 7′ x 4.8′ |
| M8 Lagoon | 90′ x 40′ |
| M10 Globular Cluster | 20′ x 20′ |
| M13 Globular Cluster | 20′ x 20′ |
| M16 Eagle Nebula | 70′ x 50′ |
| M20 Trifid | 26′ x26′ |
| NGC 7000 NA Nebula | 120′ x 100′ |
| M31 Andromeda Galaxy | 178 x 63′ |
| M33 Pinwheel Galaxy | 70′ x 42′ |
| M43 Nebula | 20′ x 16′ |
| M42 Orion Nebula | 60′ x 60′ |
| M51 Whirlpool Galaxy | 11.2′ x 6.9′ |
| M81 Bode’s Galaxy | 27′ x 14′ |
| M101 Galaxy | 29′ x 27′ |
The question then is which OTA to use. For some of the objects the choice is easy. The largest objects require the RASA8 and even then, to fully image the other portions a mosaic might be required.
The smaller objects present a bit more difficulty in making the selection. The main issue is the quality of the imaging conditions. For instance, if the seeing and transparency are fair to poor, the smallest details might not be able to be recorded at high magnifications, it might be advisable to take advantage of the shortened exposures afforded by the RASA8 or the RC at F/5. A bit of experimentation might be the best way to approach the problem.
As an example, M101 was imaged with the RASA8 F/2 on a night with moderate imaging conditions. Integration time was about 2 hours. The image was processed in AP and Photoshop including sharpening with ArtGuru unblur. The star sizes were reduced in AP to better show the galaxy.

M101 with ASI183 on 150mm RC, FL 1377mm F/9 117 minutes exposure fair to poor imaging conditions. Processed in AP and Photoshop. Sharpened online.
The next image shows M101 imaged with the RASA8 F/2 OTA, FL 400mm. The image is the full frame.
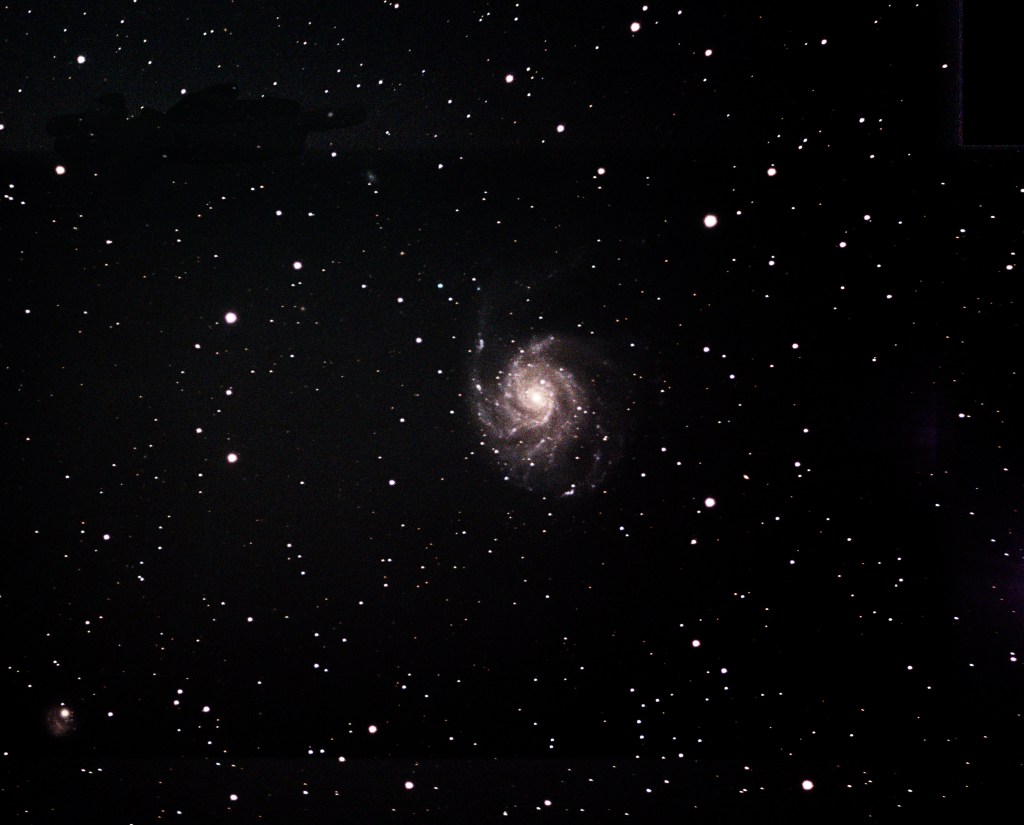
M101 with ASI183 on RASA8 40mm F/2 119 minutes in moderate imaging conditions. Processed in AP and PS. Sharpened in AP.
The final image in this series shows the previous image cropped and rotated to match the first image. Note the lower image quality and increased noise level, even though the imaging conditions were better. Having the 3.4x enlargement clearly helps image quality for the smaller object (M101).

M101 with ASI183 on RASA8 400mm F/2 119 minutes in moderate imaging conditions, cropped to match RC150 image. Processed in AP and PS. Sharpened in AP.
Finally, the two images below illustrate the FOV areas for a large object (M31) and a small object (M101).
M31 Andromeda Galaxy

FOV for the three OTAs with ASI183 with M31 Andromeda Galaxy
M101
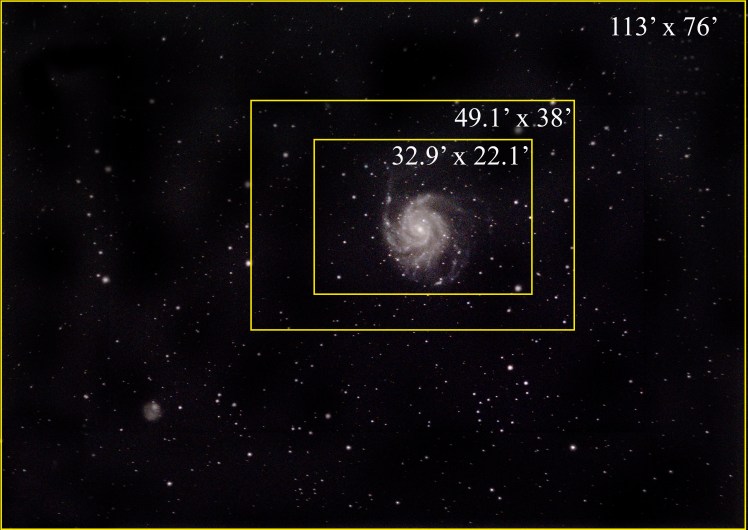
FOV for the three OTAs with ASI183 with M101 Galaxy
Camera selection
The specific camera for other OTAs will depend on the resolving power of the OTA and the coverage desired. A comprehensive article on camera selection can be found at
The following is a link to an article understand camera sampling:
https://www.highpointscientific.com/astronomy-hub/post/astro-photography-guides/undersampling-and-oversampling-in-astrophotography
Additional technical articles can be found on the same site and by searching the internet.
